Garage Door Safety Sensors: How They Work & How to Test Them
Table of Contents
Did you know that since 1993, all automatic garage door openers sold in the United States have been legally required to include an auto-reverse safety mechanism, primarily facilitated by photoelectric eyes? This critical feature, often overlooked until a problem arises, is the silent guardian protecting your family, pets, and property. At GarageDoorGrade.com, our mission is to cut through the confusion and provide you with precise, actionable information. This comprehensive guide will illuminate the intricate workings of modern garage door safety sensors, explain their vital role, and, crucially, empower you with the knowledge to test them effectively. Understanding these essential components is not just about convenience; it’s about ensuring the utmost safety for your home.
Our Top Picks: A Head-to-Head Comparison
While safety sensors are often integrated with the opener system, it’s possible to replace just the sensors themselves, or upgrade to a more robust system. Here’s a look at some leading options that stand out for reliability and ease of integration:
| Model | Key Feature | GarageGrade™ Score | Pros | Cons | Estimated Price |
|---|---|---|---|---|---|
| LiftMaster 41A5034 Safety Sensor Kit | OEM for many LiftMaster/Chamberlain models, easy installation | 9.2/10 | Direct replacement, excellent reliability, simple wire connections, clear instructions. | May require specific bracket types depending on opener model. | $30-$50 |
| Genie Safe-T-Beam System | Universal compatibility with most Genie openers manufactured since 1995 | 8.9/10 | Broad compatibility within the Genie ecosystem, durable construction, includes mounting hardware. | Can be sensitive to direct sunlight, alignment is crucial. | $35-$60 |
| Overhead Door O-DCSS Photoelectric Safety Sensor Kit | Robust design, direct replacement for Overhead Door brand openers | 9.0/10 | Built to last, precise beam alignment, good cold weather performance. | Less common for DIYers to find outside of specific suppliers. | $40-$65 |
Demystifying Garage Door Safety Sensors: The Science Behind the Safety
At their core, garage door safety sensors are photoelectric eyes that create an invisible infrared beam across the garage door opening. Essentially, this beam acts as a digital tripwire, constantly monitored by the garage door opener’s control board. The system typically consists of two main components: a sending unit (emitter) and a receiving unit (detector), each mounted on opposite sides of the door track, a few inches above the floor. When the door is closing, the opener continuously checks for an uninterrupted beam. If anything breaks this beam – a child, a pet, a car bumper, or even a stray ball – the opener instantly reverses the door’s direction, preventing potential injury or damage. This quick response is vital, as a typical garage door can weigh hundreds of pounds, making it a serious hazard if it closes on an obstruction.
The Anatomy of Garage Door Safety Sensors
Understanding the individual parts helps grasp the whole system. The sending unit contains an infrared LED (Light Emitting Diode) that emits a focused, invisible light beam. This beam travels directly to the receiving unit, which houses a photodiode or phototransistor designed to detect infrared light. Crucially, both units are wired back to the garage door opener, often via low-voltage wiring. This wiring provides power to the sensors and transmits the signal indicating whether the beam is clear or obstructed. Furthermore, many sensors include small indicator lights – usually one green and one amber or red – which provide visual cues about their operational status and alignment, a detail we’ll explore further when discussing troubleshooting and testing the garage door safety sensors.
How the Infrared Beam Functions
The magic of these garage door safety sensors lies in their simplicity and reliability. The sending unit consistently emits its infrared beam. In turn, the receiving unit is calibrated to ‘see’ this beam. As a result, as long as the receiving unit detects the signal from the sending unit, the garage door opener knows the path is clear to close. Conversely, if the receiving unit doesn’t detect the beam – perhaps due to an object blocking it, or misalignment – it signals the opener. Consequently, the opener interprets this as an obstruction and immediately triggers the safety reversal mechanism. This prevents the door from exerting force on whatever is in its path. In addition, if the beam is persistently broken or misaligned, the opener may refuse to close the door at all, often flashing the opener’s light as a diagnostic code.
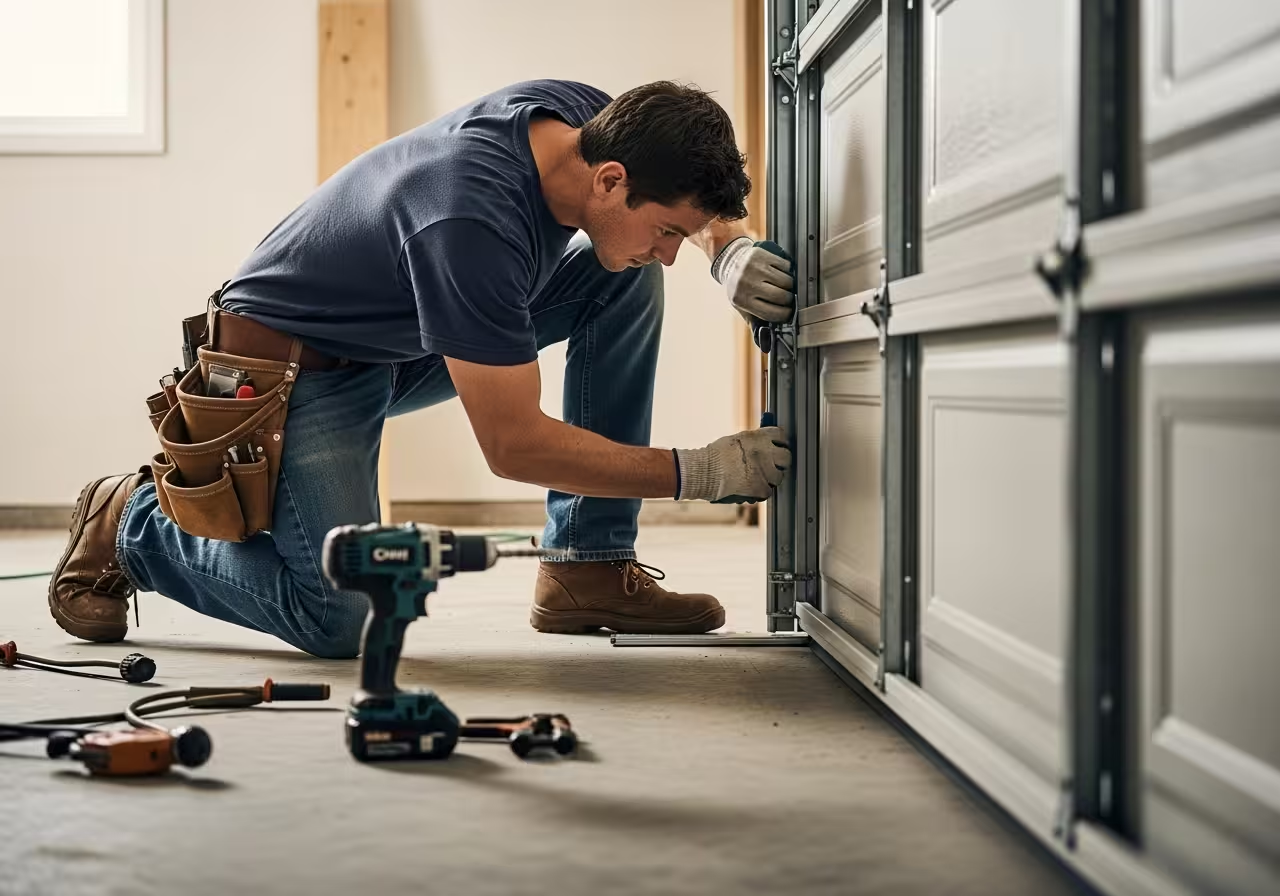
Owner’s Workshop: Maximizing Longevity and Performance
Regular maintenance and testing are not just good practices; they are essential for the safe and efficient operation of your garage door. Focusing on your garage door safety sensors is paramount, as they are the primary line of defense against accidents. Here’s how to keep them in top shape and verify their functionality.
🛠️ Tools & Materials Checklist

Before you begin any work on your garage door safety sensors, ensure you have the right tools and materials at hand. Having everything ready saves time and ensures the job is done safely and correctly:
🧼 Cleaning Supplies
- ☐ Soft, clean cloth or paper towels
- ☐ Mild household cleaner (e.g., glass cleaner or diluted dish soap)
- ☐ Small bucket of clean water (if using dish soap)
🔧 Basic Tools
- ☐ Screwdriver (Phillips or flathead, for tightening mounting screws if needed)
🚧 Testing Equipment
- ☐ A sturdy object for testing (e.g., a cardboard box, a 2×4 piece of wood, or a small trash can)
Step-by-Step Guide: Testing Your Garage Door Safety Sensors
Performing a sensor test is simple and should be done monthly. This quick check ensures your garage door safety sensors are working as they should, providing critical protection.
1st Phase: Inspection and Cleaning
- Inspect the Sensors: First, locate the two small sensor units on each side of your garage door opening, usually 4-6 inches above the floor. Then, check for any visible damage, blockages, or excessive dirt. Finally, look at the indicator lights on both sensors. The sending unit (emitter) typically has a steady amber or red light, indicating it’s powered and transmitting. The receiving unit (detector) usually has a green light, signifying it’s receiving the beam. If either light is off or flickering erratically, there might be an issue.
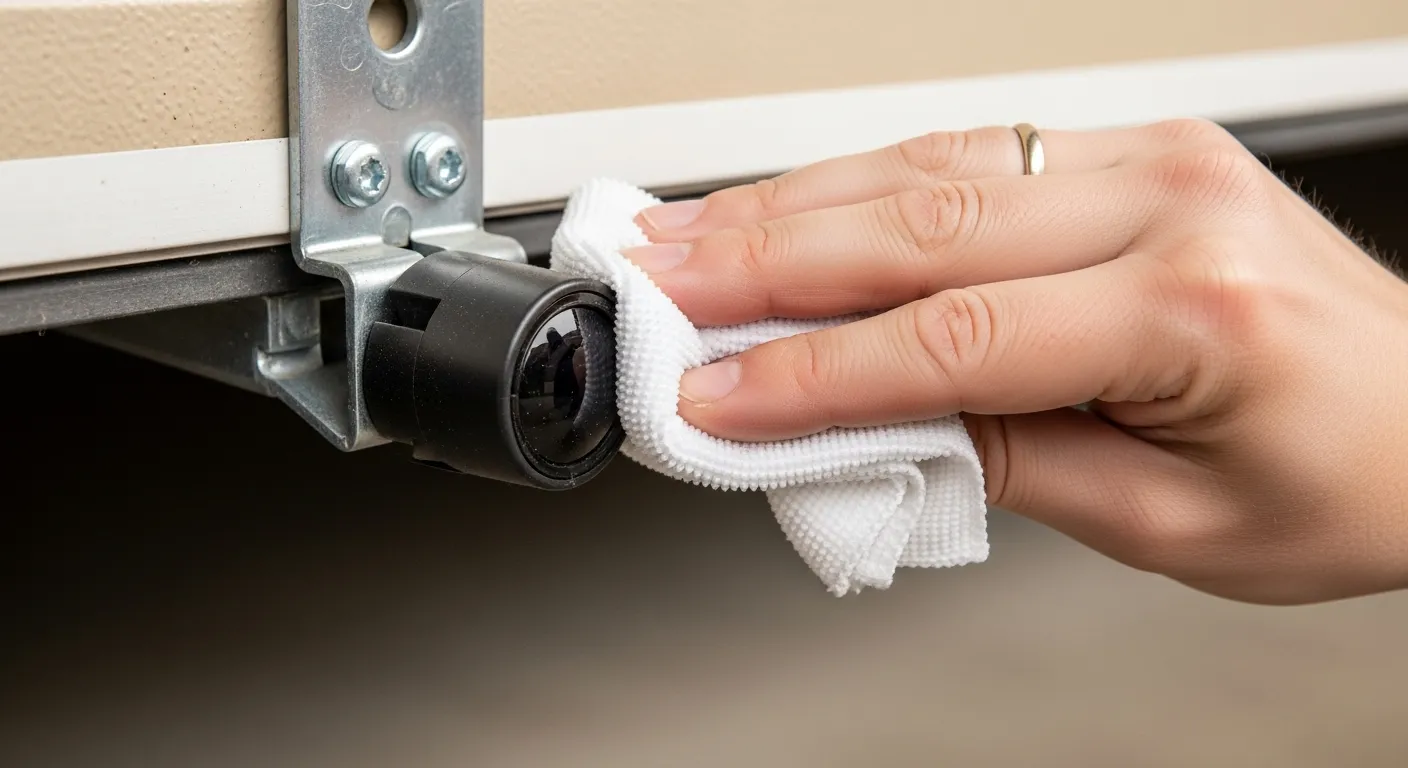
- Clean the Lenses: Use a soft, clean cloth and a mild cleaner to gently wipe the lenses on both the sending and receiving units. Dust, cobwebs, and debris are common culprits for beam obstruction. Our DIY Workshop section offers more tips on general garage door cleaning.
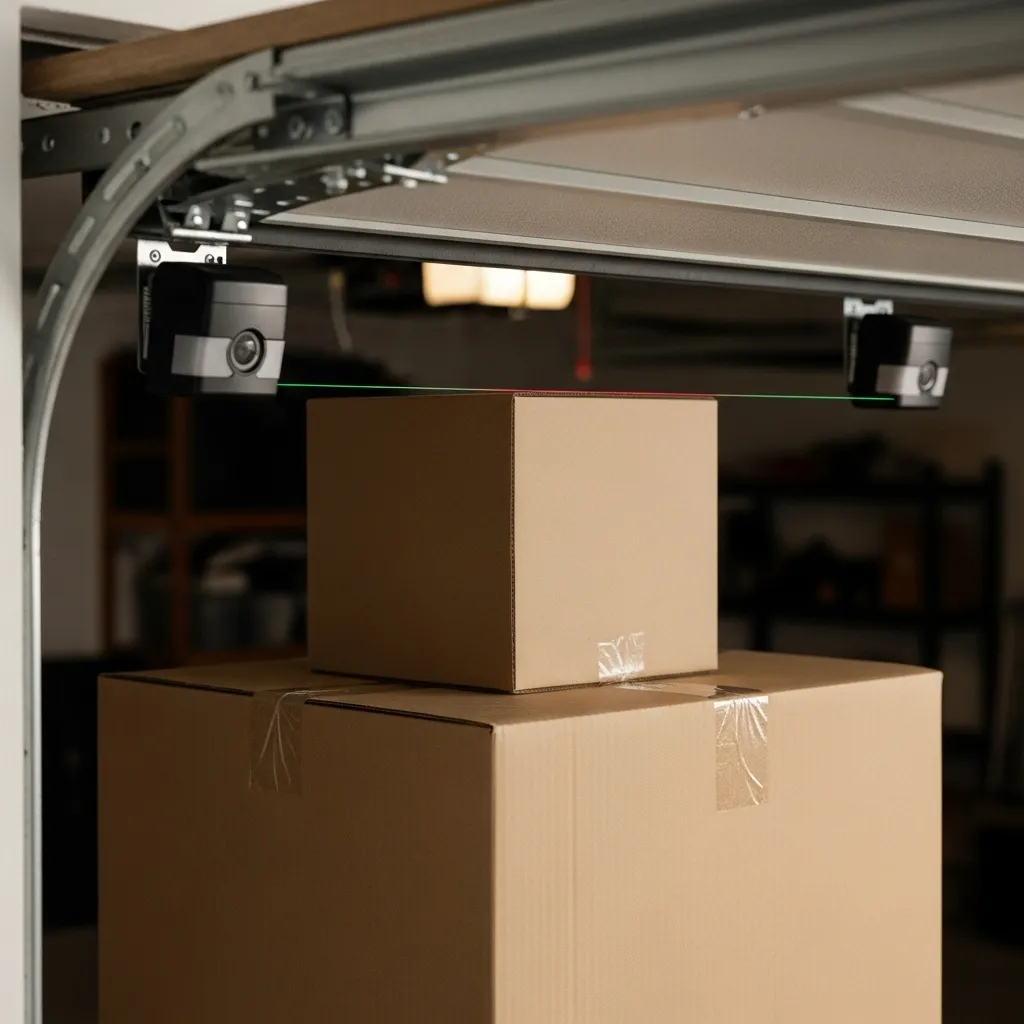
2nd Phase: The Obstruction Test
- Perform the Obstruction Test: Open your garage door fully. Place your sturdy test object (e.g., a cardboard box) directly in the path of the safety sensor beam, ensuring it completely blocks the infrared light.
- Attempt to Close the Door: Press the wall button or the remote control button to close the garage door.
- Observe the Reaction: The garage door should immediately begin to close, then stop and reverse to its fully open position as soon as it detects the obstruction. It should not exert any significant force on the object. If the door closes without reversing, or if it makes contact with the object with considerable force, your garage door safety sensors are not functioning correctly, and the door should not be used until repaired.
3rd Phase: Verification
- Remove Obstruction & Test Again: Remove the test object from the sensor path. The indicator lights on the sensors should return to their normal «beam clear» state (e.g., steady green on the receiver). Attempt to close the door again. It should now close fully without issue. If the door still refuses to close or reverses randomly, consult the troubleshooting section or find a verified professional in our Pro’s Corner.
Troubleshooting Common Issues with Garage Door Safety Sensors
Misalignment of Garage Door Safety Sensors
This is, by far, the most frequent issue. Over time, vibrations, accidental bumps, or even settling of the house can cause one or both sensor units to shift slightly, breaking the invisible beam. Look at the indicator lights: if the receiving unit’s light is flickering or off, misalignment is likely. To fix this, gently adjust the sensor units until the light on the receiving unit turns solid green (or whichever color indicates a clear beam for your model). You may need to loosen a wing nut or a small screw on the mounting bracket to allow for adjustment. Re-tighten once aligned. Take your time with this; even a millimeter can make a difference. Many homeowners find this a simple fix, saving a service call.
Obstructions or Dirt Affecting Photoelectric Eyes
Cobwebs, dust, leaves, or even tiny insects can block the infrared beam. As mentioned in the testing steps, a simple wipe-down with a clean, soft cloth and mild cleaner is often all that’s needed. Ensure no foreign objects are physically stuck on the sensor lenses or brackets. Sometimes, condensation or frost can also temporarily interfere with the beam, especially in colder climates. Simply wiping them dry should resolve this.
Wiring Problems with Garage Door Safety Sensors
Less common, but more challenging to diagnose, are wiring issues. The low-voltage wires running from the sensors to the opener can become frayed, cut, or disconnected. Therefore, it’s important to check for any obvious signs of damage along the wire’s path, especially near staples or where it bends. Ensure the wire connections at both the sensor units and the opener’s terminal block are secure and free of corrosion. If you suspect a wiring issue and are not comfortable with electrical work, it’s best to contact a professional. Indeed, electrical troubleshooting often requires specialized tools and knowledge.
Sunlight Interference with Beam
In some garage configurations, direct sunlight hitting the receiving sensor can overwhelm its photodiode, making it unable to detect the infrared beam from the sending unit. This can cause the door to reverse unexpectedly or refuse to close during certain times of the day. Possible solutions include repositioning the sensors slightly, adding a small shade or baffle around the receiving sensor (be careful not to block the beam itself), or even painting the wall behind the receiving sensor a darker, non-reflective color. For instance, some professionals recommend a small piece of dark electrical tape placed strategically to create a small ‘tunnel’ around the sensor opening.
Maintaining Your Garage Door Safety Sensors for Peak Performance
Beyond monthly testing, incorporating sensor checks into your annual garage door maintenance routine is wise. For example, check the mounting brackets to ensure they are secure and not bent or loose. Furthermore, inspect the wiring annually for any wear and tear. A robust inspection schedule will extend the life of your garage door safety sensors and provide peace of mind. For a comprehensive overview of maintaining all aspects of your garage door, refer to our comprehensive DIY Workshop section.
The Evolution of Garage Door Safety Sensors: Beyond the Beam
While the infrared beam system remains the industry standard, innovations continue to enhance garage door safety. Understanding these advancements can inform future upgrades or replacements, aligning with our commitment to providing cutting-edge market insights in our comprehensive Buyer’s Guide.
Advanced Obstruction Detection Technologies
Modern garage door openers incorporate multiple layers of safety beyond just the photoelectric garage door safety sensors. For instance, force sensing technology is a crucial addition. This system continuously monitors the amount of force required to open and close the door. If the door encounters an unexpected increase in resistance during closing, it will automatically reverse, even if the safety beam is clear. This protects against obstructions that might appear above the sensor beam’s height, such as a tall object or an uneven load in a vehicle. Consequently, this provides a more comprehensive safety net. Some advanced systems also include motion sensors or even AI-powered detection for greater precision.
Smart Home Integration and Remote Monitoring
The rise of smart home technology has extended to garage door openers and, by extension, their safety features. Many new openers can connect to your home’s Wi-Fi network, allowing you to monitor and control your garage door remotely via a smartphone app. This functionality means you can receive alerts if your garage door is left open or if there’s an issue with the sensors. Additionally, some systems even offer visual verification through integrated cameras, letting you see if the path is clear before closing the door remotely. This level of connectivity offers unprecedented convenience and an added layer of security, allowing homeowners to manage their garage from anywhere.
Why Upgrading Your Garage Door Safety Sensors Might Be Necessary
Even if your current garage door safety sensors are technically functioning, older models may not offer the same level of reliability or advanced features as newer ones. Faded lenses, brittle wiring, or simply wear and tear from decades of exposure can compromise their performance. Upgrading to a modern set of garage door safety sensors can significantly improve your system’s responsiveness and durability. Moreover, if you’re replacing an old opener, ensuring the new system comes with the latest generation of garage door safety sensors is a non-negotiable step to maximize protection. Investing in newer, more robust sensors can save you money on potential repairs down the line, as discussed in our Financial Decider tool.
Conclusion: Your Safety, Our Priority
In conclusion, garage door safety sensors are not just an accessory; they are a fundamental safety component mandated by law and critical for the well-being of your household. By understanding how these photoelectric eyes operate and, more importantly, how to routinely test them, you are empowered as a homeowner to maintain a safe environment. Performing regular checks, cleaning, and prompt troubleshooting ensures that these sensors can perform their life-saving duty without fail. A proactive approach to garage door maintenance, guided by accurate information from GarageDoorGrade.com, is ultimately the best investment in your family’s safety and your home’s longevity.
